Our tutorial below will show you which menu contains the information that you need to modify when changing your computer’s name on a MacBook Air. This is ideal if you have multiple similar devices on a network that are difficult to identify from one another, or if the default name given to the MacBook Air is inaccurate or unhelpful.
How to Rename a MacBook Air
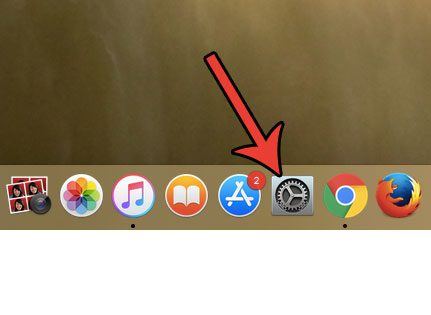
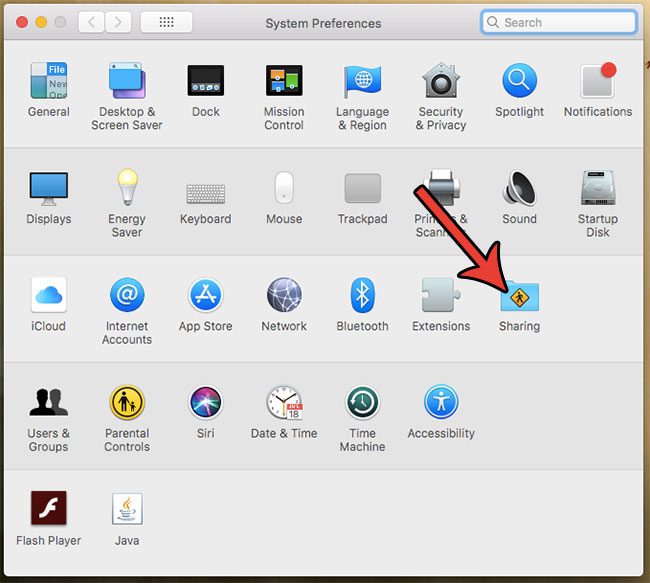
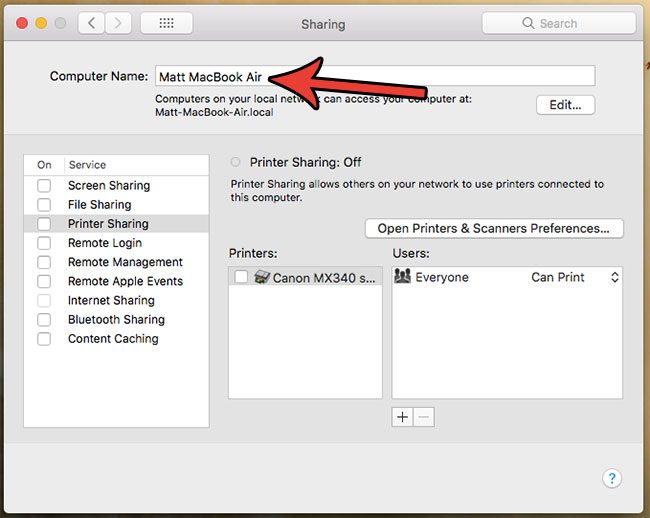
The steps in this article were performed on a MacBook Air using the MacOS High Sierra operating system. By completing the steps in this guide you will be changing the way that your Mac is identified to other devices on your network. Additionally this will not affect any of the usernames on the computer. If you are an iPhone owner and want to change the name of that device, too, then you can follow our guide here to make that switch. Step 1: Click the System Preferences button. Step 2: Click the Sharing button. Step 3: Click inside the Computer Name field at the top of the window, delete the existing name, enter the new name, then press Enter on your keyboard. Note that the computer name only serves to identify the device when you are connected to a network, as it is how other devices and computers on the network will see you. If you need to change any of the sharing options on your computer, then they may be found on this menu. This includes things like remote access and remote management, or printer sharing. If anything like this is something that you have been looking for a way to do, simply look at the list at the bottom of this sharing menu and see if you want to turn anything on. If you would also like to change a username for an existing user on your MacBook, then the steps in the next section can help.
How to Change a Username on a MacBook Air
Changing the computer name won’t change any of the usernames. You can follow these steps if you want to change the name of a user on your MacBook. If you also have an iPhone, then changing the computer name or the username as in the steps above won’t affect anything on your iPhone. You can follow the steps in the section below if you want to change the device name on your iPhone.
How to Change Your iPhone’s Name
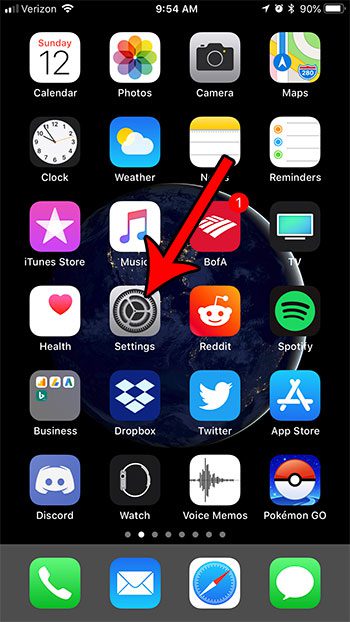
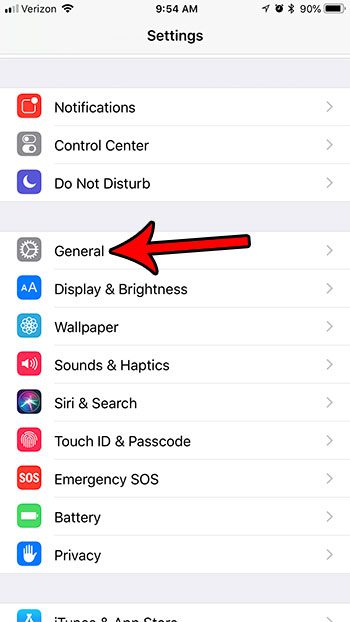
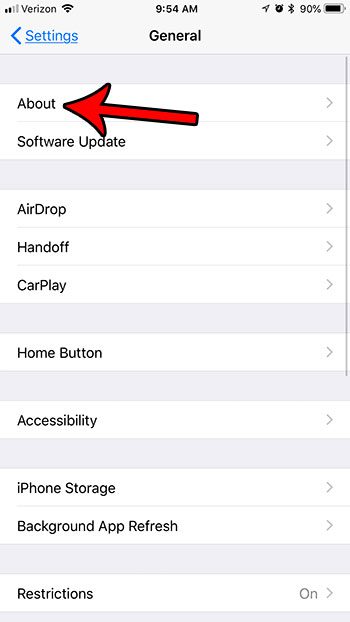
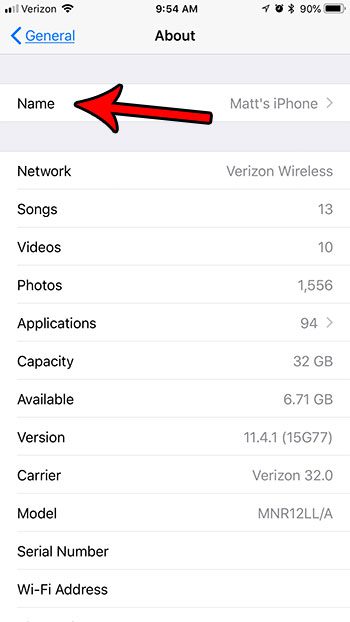
The steps in this section were performed on an iPhone 7 Plus in iOS 11.4.1. Changing your iPhone name in this manner is going to change the way that your iPhone appears on wireless networks and to other Bluetooth devices. Step 1: Touch the Settings icon. Step 2: Choose the General option. Step 3: Select About. Step 4: Touch the Name button. Step 5: Tap the x button to the right of the existing name, then enter the new name that you want to use. pic 8 Changing some settings on your MacBook Air requires you to perform a right-click action. Find out how to right click on a MacBook Air using one of several methods. You can even customize the way that you right-click on a trackpad. After receiving his Bachelor’s and Master’s degrees in Computer Science he spent several years working in IT management for small businesses. However, he now works full time writing content online and creating websites. His main writing topics include iPhones, Microsoft Office, Google Apps, Android, and Photoshop, but he has also written about many other tech topics as well. Read his full bio here.
You may opt out at any time. Read our Privacy Policy
