Fortunately it is possible to get rid of a text box in Excel that you don’t need any more, though the process is slightly different than how you would traditionally remove objects or data from a spreadsheet. Our guide below will show you how.
How to Remove a Text Box from a Spreadsheet in Excel 2013
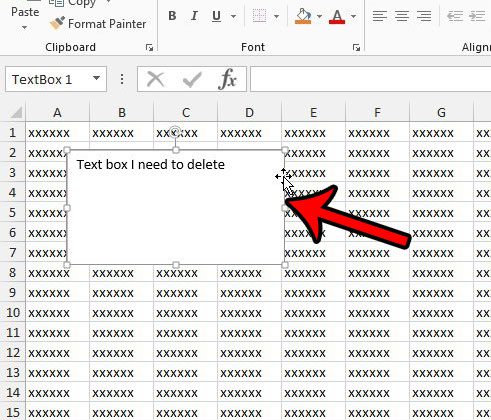
The steps in this article were performed in Microsoft Excel 2013, but will also work in Excel 2010 and Excel 2016. The result of completing these steps is that a text box that had previously been in your spreadsheet will now be gone completely. Step 1: Open your spreadsheet in Excel 2013. Step 2: Click the border of the text box to select it. Note that you can’t click inside the text box for this to work. The box itself needs to be selected.
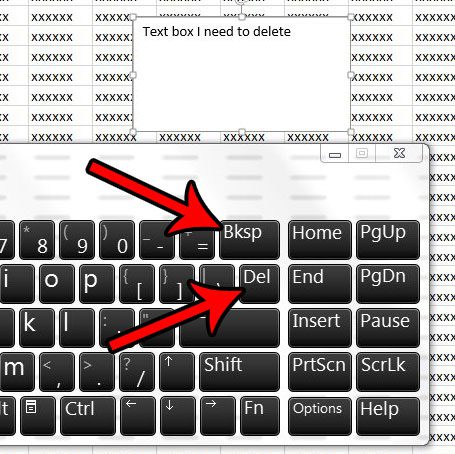
Step 3: Press the Delete or Backspace key on your keyboard to delete the text box from your spreadsheet.
Note that you can also elect to cut the text box as well by right-clicking the text box after clicking the border, then selecting the Cut option.
Is there an entire row of cells in your spreadsheet that you don’t need anymore, and you would like to get rid of them? Learn how to delete a row in Excel 2013 for a quick and easy way to eliminate a lot of cells at once. After receiving his Bachelor’s and Master’s degrees in Computer Science he spent several years working in IT management for small businesses. However, he now works full time writing content online and creating websites. His main writing topics include iPhones, Microsoft Office, Google Apps, Android, and Photoshop, but he has also written about many other tech topics as well. Read his full bio here.
You may opt out at any time. Read our Privacy Policy