Put a Picture or Logo in a Spreadsheet in Excel 2013
There are many other reasons that you might want to insert a picture in an Excel 2013 spreadsheet, but this is one that I see a lot. Luckily it is a simple thing to do and, once the picture is placed, it is even pretty easy to move or resize it as necessary. This tutorial is also going to assume that you have the picture that you want to insert somewhere on your computer. If you don’t have it yet, then locate that picture and get it on your computer before you start this process. Step 1: Open your spreadsheet in Excel 2013. Step 2: Click the Insert tab at the top of the window.
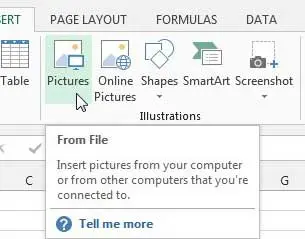
Step 3: Click the Pictures button in the Illustrations section of the ribbon.
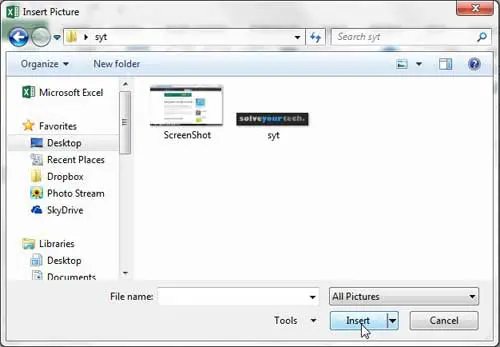
Step 4: Browse to the picture you want to insert, select it, then click the Insert button.
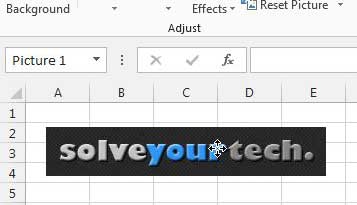
You can then click on the picture and drag it to wherever you want it to be displayed.
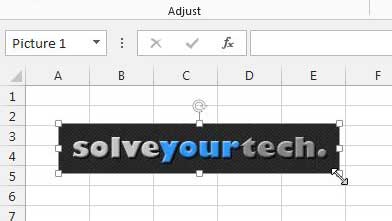
The picture can also be resized by clicking on any of the handles surrounding the image and dragging them.
One very useful tool in Excel is the PivotTable. This can really simplify any manual addition or row-combining that you might need to do. Learn how to create a Pivot table in Excel 2013. After receiving his Bachelor’s and Master’s degrees in Computer Science he spent several years working in IT management for small businesses. However, he now works full time writing content online and creating websites. His main writing topics include iPhones, Microsoft Office, Google Apps, Android, and Photoshop, but he has also written about many other tech topics as well. Read his full bio here.
You may opt out at any time. Read our Privacy Policy