Is there a picture that you want to use in your Microsoft Word document, but it’s reversed? Or are you trying to make a printout for a t-shirt and the picture is ironing on backwards? Luckily there is a feature in Microsoft Word that you can use to fix this. Hidden among the various image-editing tools in Microsoft Word are options to flip an image horizontally or vertically. By finding and using one of these options on a picture that you have included in your document you can get the mirror version of your picture so that your document includes the version of the image that you require.
How to Mirror an Image in Word
Our article continues below with additional information on how to create a mirror image in Word, including pictures of these steps.
How to Mirror an Image in Microsoft Word for Office 365 (Guide with Pictures)
The steps in this article were performed in the Office 365 version of Microsoft Word that is included with the subscription version of the Microsoft Office suite.
Step 1: Open your document in Word.
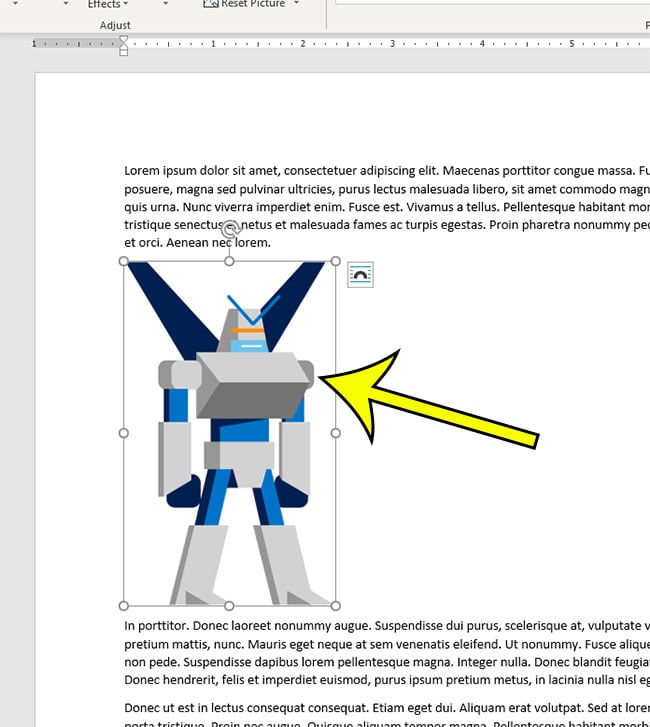
Step 2: Click on the picture that you wish to mirror.
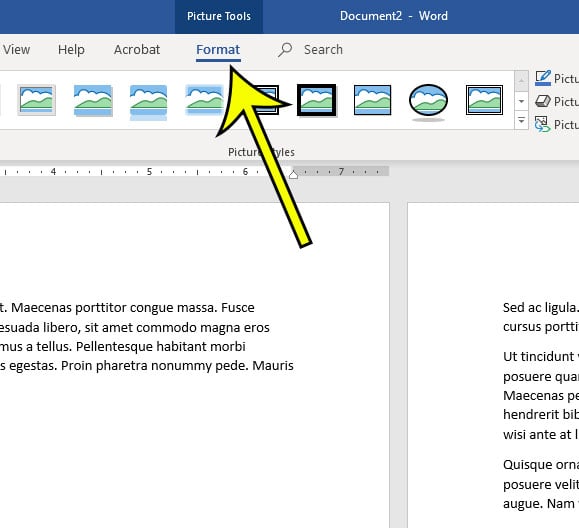
Step 3: Select the Picture Tools Format tab at the top of the window.
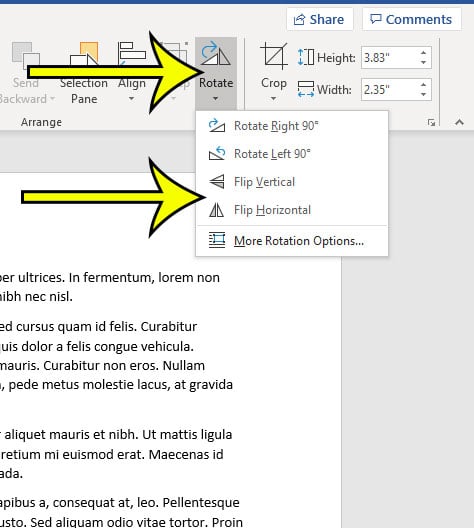
Step 4: Click the Rotation button in the Arrange section of the ribbon, then choose either Flip Horizontal or Flip Vertical, depending on which option you need.
Does your document include any background colors or images that you need to print? Find out how to enable this option if you have already tried to print the document and found that those elements aren’t being included.
More Information on How to Rotate an Image in Word
One other option that you might find to be more effective involves the use of a text box in your Word document. If you click the Insert tab at the top of the window and select the Text Box option in the ribbon, it will add one to the document. You can then add the picture from the Insert tab. The Text Box then has its own Rotation options that you can use instead.If you go the text box route instead of using the image options then you will also have the advanced settings that are found for the pictures, too. It’s basically the same tool, you just gain some additional control over the placement of the text box object that you don’t have with a basic image.
Additional Reading
He specializes in writing content about iPhones, Android devices, Microsoft Office, and many other popular applications and devices. Read his full bio here.


