But if you have made a lot of adjustments to that picture, or if you want to copy and paste it into another spreadsheet and need it to be at its original size, then you might be looking for a way to make that happen. Our guide below will show you how to reset a picture to its original size in Excel 2013, which will also remove any additional formatting changes that you have applied to it.
How to Return a Picture to its Original Size in Excel 2013
The steps in this article will only apply to the image that was originally inserted into your spreadsheet. It will not take into account any versions of the picture that existed before it was first added to the spreadsheet. Note that this will also remove any effects that you have added to the picture as well. Step 1: Open the spreadsheet containing the picture that you would like to restore. Step 2: Click the picture to select it.
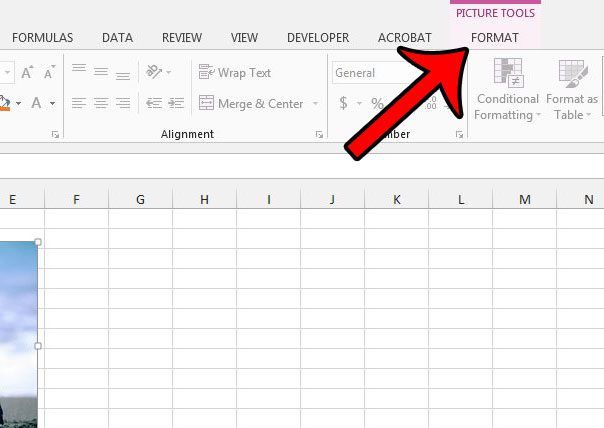
Step 3: Click the Format tab under Picture Tools at the top of the window.
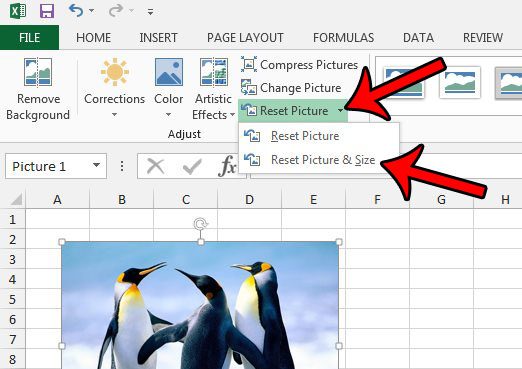
Step 4: Click the arrow to the right of Reset Picture in the Adjust section of the ribbon, then click the Reset Picture & Size option.
Would you like to modify a picture so that clicking it will open a Web page or a file? Learn how to hyperlink a picture in Excel 2013 to achieve this result. After receiving his Bachelor’s and Master’s degrees in Computer Science he spent several years working in IT management for small businesses. However, he now works full time writing content online and creating websites. His main writing topics include iPhones, Microsoft Office, Google Apps, Android, and Photoshop, but he has also written about many other tech topics as well. Read his full bio here.
You may opt out at any time. Read our Privacy Policy