Sign in to Windows 10 with Fingerprint
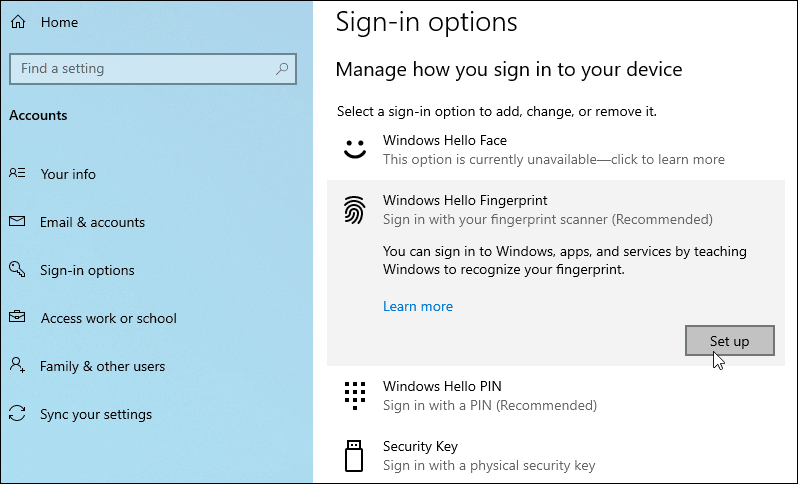
To set it up, open Settings > Accounts > Sign-in Options. Then select “Windows Hello Fingerprint” for the way you want to sign in to the device and click the “Set up” button.
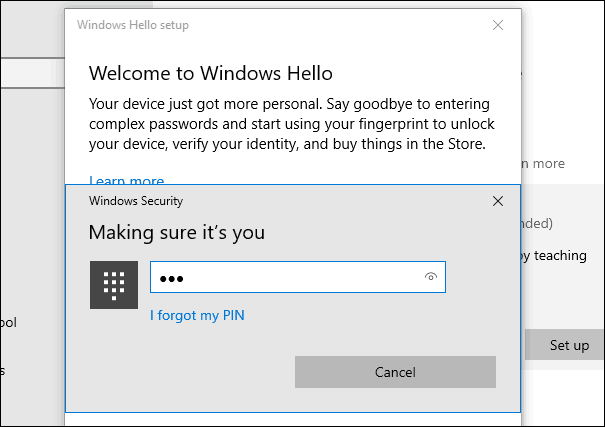
Next, it’s just a matter of following the onscreen instructions to make your way through the setup wizard. Kick it off, and you’ll be asked to enter your PIN or password first.
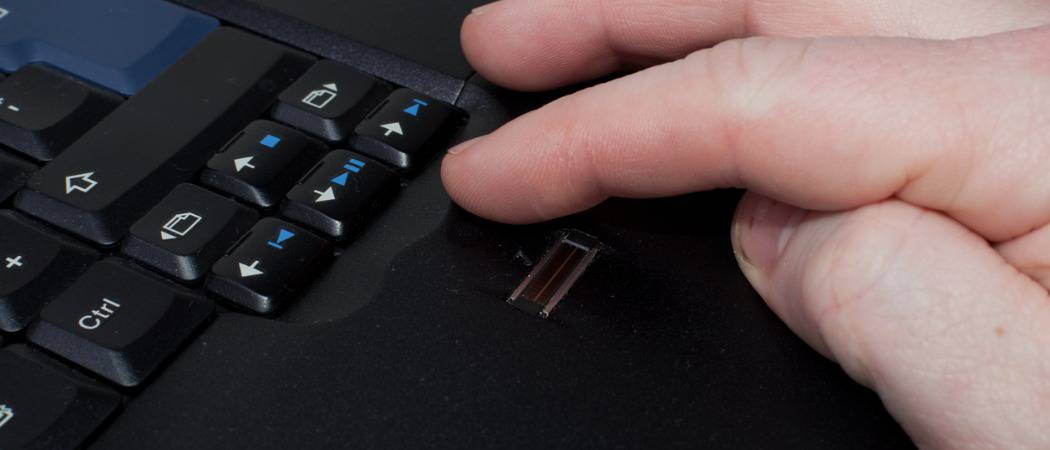
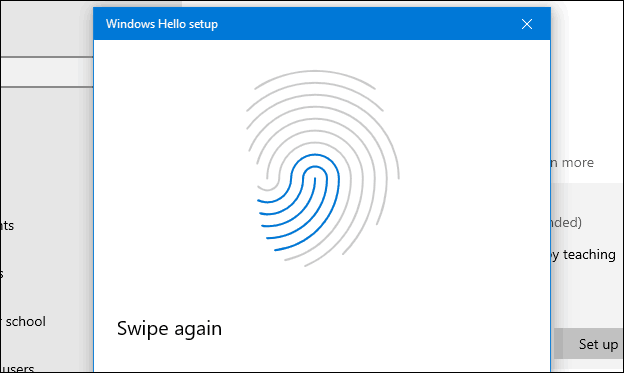
Next, start swiping the finger you want to use on your sensor until Windows can get a full reading of your print.
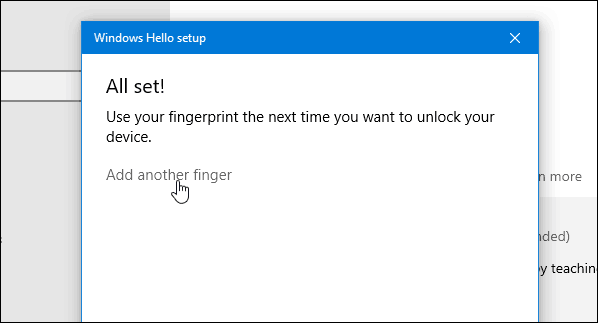
Once it’s complete, you’ll see the following message, and you can add another finger if you want. Of course, you can add another fingerprint later at any time by going back into the sign-in options.
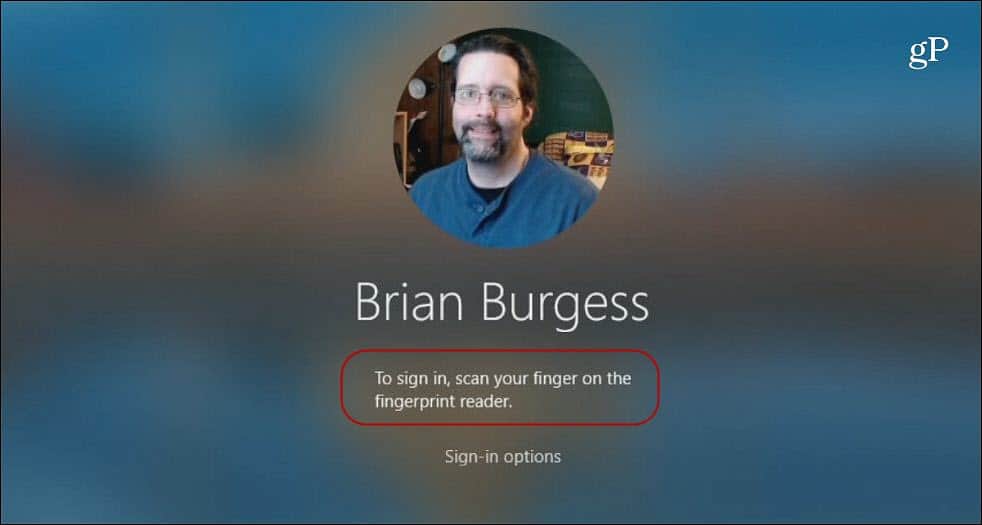
Once it’s set up, the next time you log in or restart your system, you will need to use your fingerprint reader to log into your system.
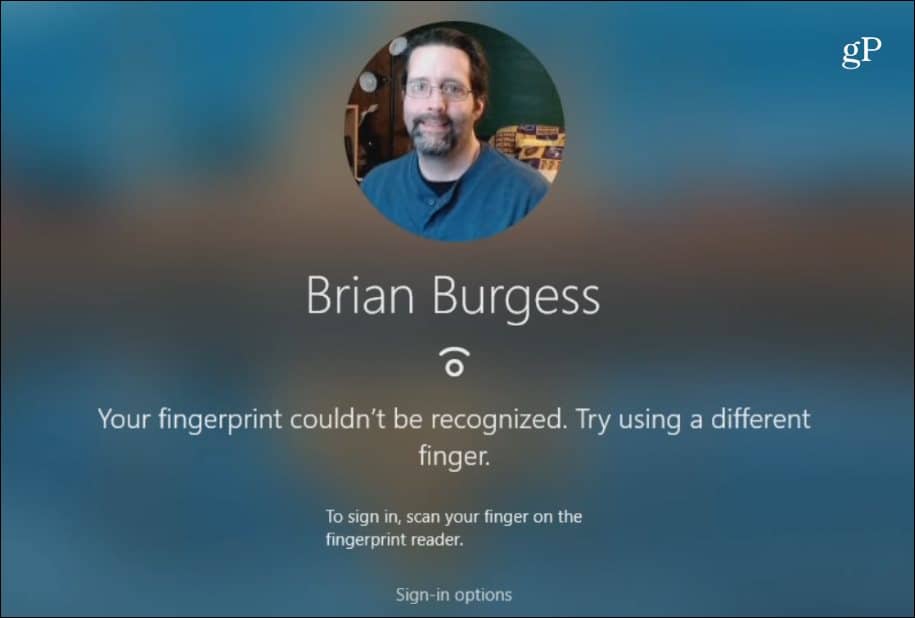
Note that using this option will vary a bit depending on your fingerprint sensor and its quality. And Windows can be a bit finicky when you’re setting it up or logging in. So try swiping slower or faster, press a bit harder, etc. Also, you might need to make sure the sensor is clean for it to read your print. You can clean it using a soft cloth and rubbing alcohol. Or whatever the manufacturer recommends. If it continues to fail, you can always click on “Sign-in options” and use your PIN or password instead.
The extra security Windows Hello provides a good option for logging into your PC and certain Windows apps. But remember, as part of your overall security plan, make sure you are using a strong password everywhere you go online. To make password management easier, you can use your browser’s built-in password feature. Or, use a third-party tool like 1Password or LastPass provides easy password generation and extra security features. Also, make sure to enable two-factor authentication for every site and service that supports it.
![]()
